
Instagram is one of the most widely used social media platforms globally. We all use the platform to consume content through reels or posts. That is also why many big and small businesses target it for their business growth. With the ability to connect Shopify stores to Instagram, businesses can now target and grow uniquely. Nowadays, visual content has more appeal than regular plain content. And that is what the purpose of connecting Instagram and Shopify is; to draw in new customers through engaging content.
Why Should You Connect Your Shopify Store To Instagram?
Before we start with the guide, let us first explain the reason for connecting the two. If you already know the benefits, you can skip to the next section. However, if you still need to figure out the benefits, let us clear all your doubts.
A Big Pool Of Users
This is one of the most prominent and biggest reasons sellers use Instagram. The platform has more than 1 billion monthly active users, which is a big pool of opportunities for sellers. In fact, almost 90% of users on the platform follow a minimum of one business. It also offers the best engagement rate out of all the social media platforms. Thus, it is a no-brainer for any seller to extend their store service to this platform.
Connecting your store will not just increase your brand’s awareness but will also open up possibilities to expand your base of customers. There are plenty of Instagram users who could be potential buyers for your store if you use the platform correctly.
Direct Sales
Another benefit is the Instagram Shopping feature which allows you to create an online store. Your followers can directly navigate to the storefront using the store option helping you to sell directly on the platform.
You can use product tags on your stories, posts, etc., and the followers will be able to make the purchase without having to leave the app.
Benefit Of Visuals
As we already saw, the users of Instagram are extremely active, making it a highly engaging platform. That is why visually appealing content can make your sales skyrocket, and so will your profits. That is also the reason why businesses spend so much on creating appealing content. Instagram Stories is also a convenient feature that increases the engagement rate.
Easy Shopping And Store Redirect
An excellent shopping experience is a seamless one where the customers can easily complete the checkout process. It also helps in higher conversion rates and reduces friction during the time of purchase.
Also, the store redirects directly from the seller profile, making the online shopping experience much smoother. Another perk of using the store is the access to linking your products. That is because a regular business page is only allowed to use one link on its page. Thus, linking your products on posts, stories, etc., provides you with that extra edge to grow.
Enhanced Product Marketing
The shop tab, store, and product tags make Instagram very captivating for sellers. Thus, it is a perfect place to market your brand and its related products & services. Another way to improve customer relationships is by offering discounts and offers.
There are plenty of ways to increase your reach on the platform. These include:
- Instagram ad marketing
- Hashtags
- Influencer marketing
- Shop Section
Now that you are aware of the benefits Instagram can bring to your business, let’s start with the process.
How Does Instagram Shopping Work And How To Sell With Shopify?
The Instagram Shopping feature launched way back in 2018 and has been very popular since then. It allowed businesses to sell their products in a different way than traditional. The way it works is as follows:
- Any seller or influencer can use the tagging feature to tag their products and increase sales with their engaging posts.
- The viewers can then interact with the post to learn more about the products. It redirects them to the storefront.
- Interested viewers can purchase the product directly from the Instagram shop. The direct purchase also improves the user experience as they do not have to go through the hassle of extra steps.
Now, having an Instagram store alongside Shopify provides you with more than just an extra store. You have two sources of traffic and sales generation. And one more perk is that both of them gel really well together and reduce the friction for potential customers.
You also get access to your Instagram feed on your Shopify page, which is a significant element to add. It displays any posts on Instagram that mention your store.
Also, by linking your store to the Instagram page, you do not just allow them to make purchases from the storefront. It also adds the opportunity to redirect users to your Shopify, which would also get regular customers to your store.
How Can You Set Up Shopping On Instagram?
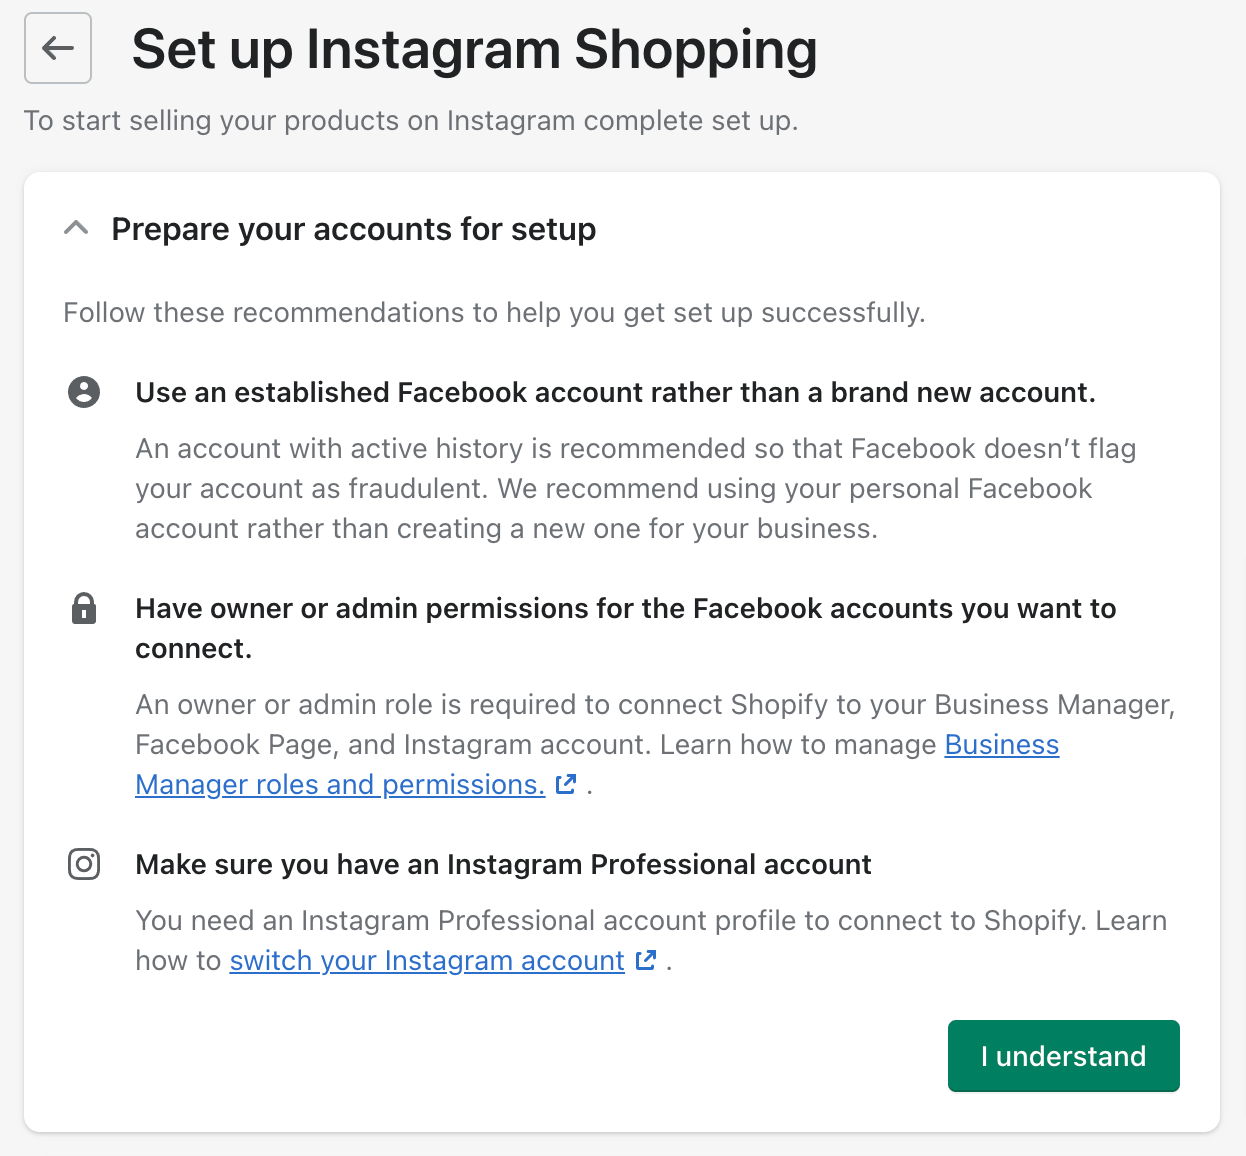
You need to have a shopping account set up on Instagram before connecting your Shopify store. We will cover the process of setting it up in this section.
1st Step: Facebook Channel Setup In Shopify Store
The first step is to set up a FB channel that will let you add products from your Shopify store. You can also use that to tag the products on your feed and stories on Instagram.
2nd Step: Create An Instagram Business Profile
Next is to create an Instagram Business Profile to get access to Instagram Shopping. If you already have an account, you can switch it to a business one from the settings. If you are wondering why you need a business account, the simple reason is that you cannot have the feature without it.
Also, you would have to meet specific requirements under the Instagram merchant policy.
- You would have to link the FB page, which contains the product catalog.
- There should not be any services, only products.
- The feature should be available in the region you set up your account.
Once your business meets all the above requirements, you can give your application for a review. To apply, follow these steps:
- Navigate to settings and open the “Business” section.
- Then click on “Sign up for Instagram Shopping” to sign up for the program.
- Follow the on-screen instructions and then hit “Submit” to submit your application.
- Now all you have to do is wait for the approval, which usually takes 2-3 days.
After you receive the approval, the shopping button will now be available in the settings.
3rd Step: Enable Instagram Shopify On Your Profile
Now, you can turn the shopping feature on to tag your products in posts. This will enable users on Instagram to be able to place orders. To turn this feature on, follow the steps below:
- First, go to your “Profile Settings.”
- Then click on “Shopping” in the dropdown menu.
- Now click on “Continue.”
- Finally, link the Facebook channel to the business’s Instagram profile, and the process will be completed.
4th Step: Add Products To Your Instagram Posts
Now that the shopping is turned on, you can add products to your feed on Instagram. While doing that, there are a few things that you should keep in mind, which are as follows:
- The media you use should be of high quality and resolution, which will make it easy for the audience to watch and gather their attention.
- The captions you use for the products should be innovative and engaging as they will make the possible buyers take action.
- Tag the products with Shopify links, and know that you can use 5 tags for five different products in a single media file.
- Also, make sure that the name of the image on Instagram matches the one on your FB channel.
Step 5: You Can Now Start Selling
Once the shopping feature is active on your business account, you can now start selling your products and use product tags to feature them. The tags can be used on your stories, live sessions, images, video posts, etc.
Once the setup for Instagram Shopping is complete, you can now connect your Shopify store to Instagram to leverage your sales.
Also Read: How To Fulfill Orders On Shopify Automatically And Manually?
How To Connect Shopify To Instagram?
Now, let’s get you familiar with the process of connecting Shopify and Instagram. Follow the steps below:
-
Add The FB Sales Channel In The Shopify Dashboard
Navigate to the menu in your Shopify admin dashboard. There, you will come across the “Sales Channel” option, where you can find the “Online Store” option.
You will see a “+” icon beside the “Sales Channel,” where there will be a menu of various sales channels which you can add to your store.
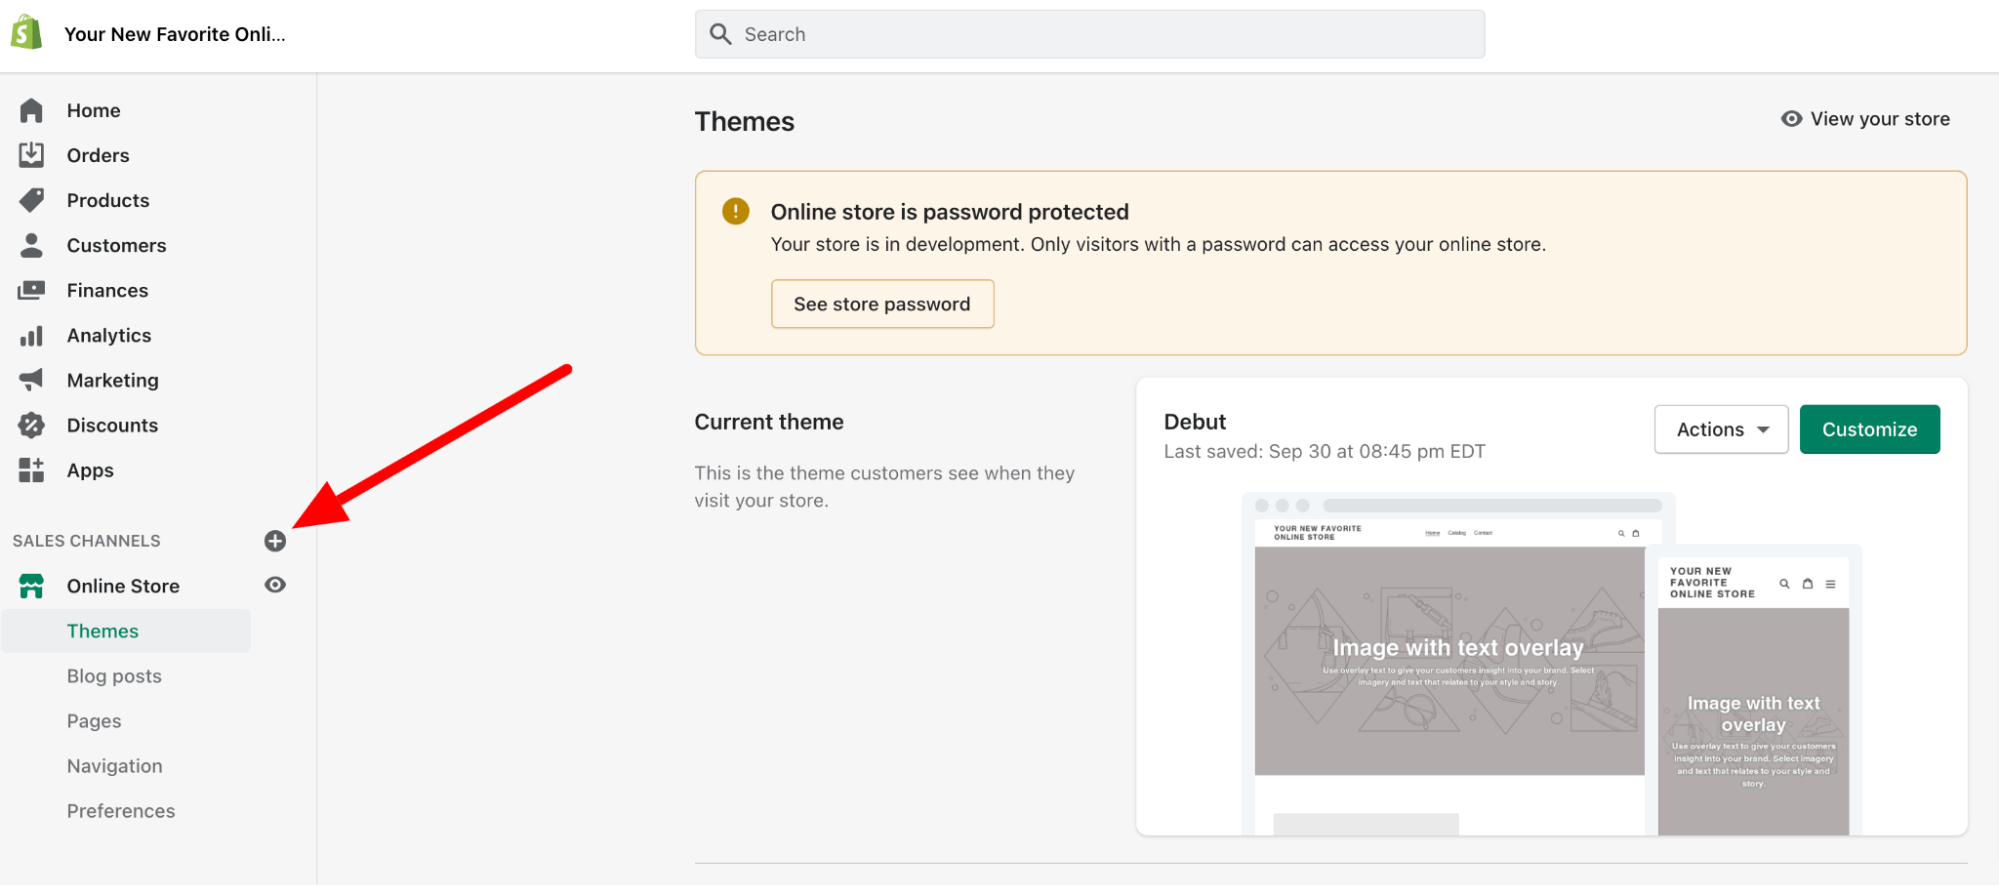
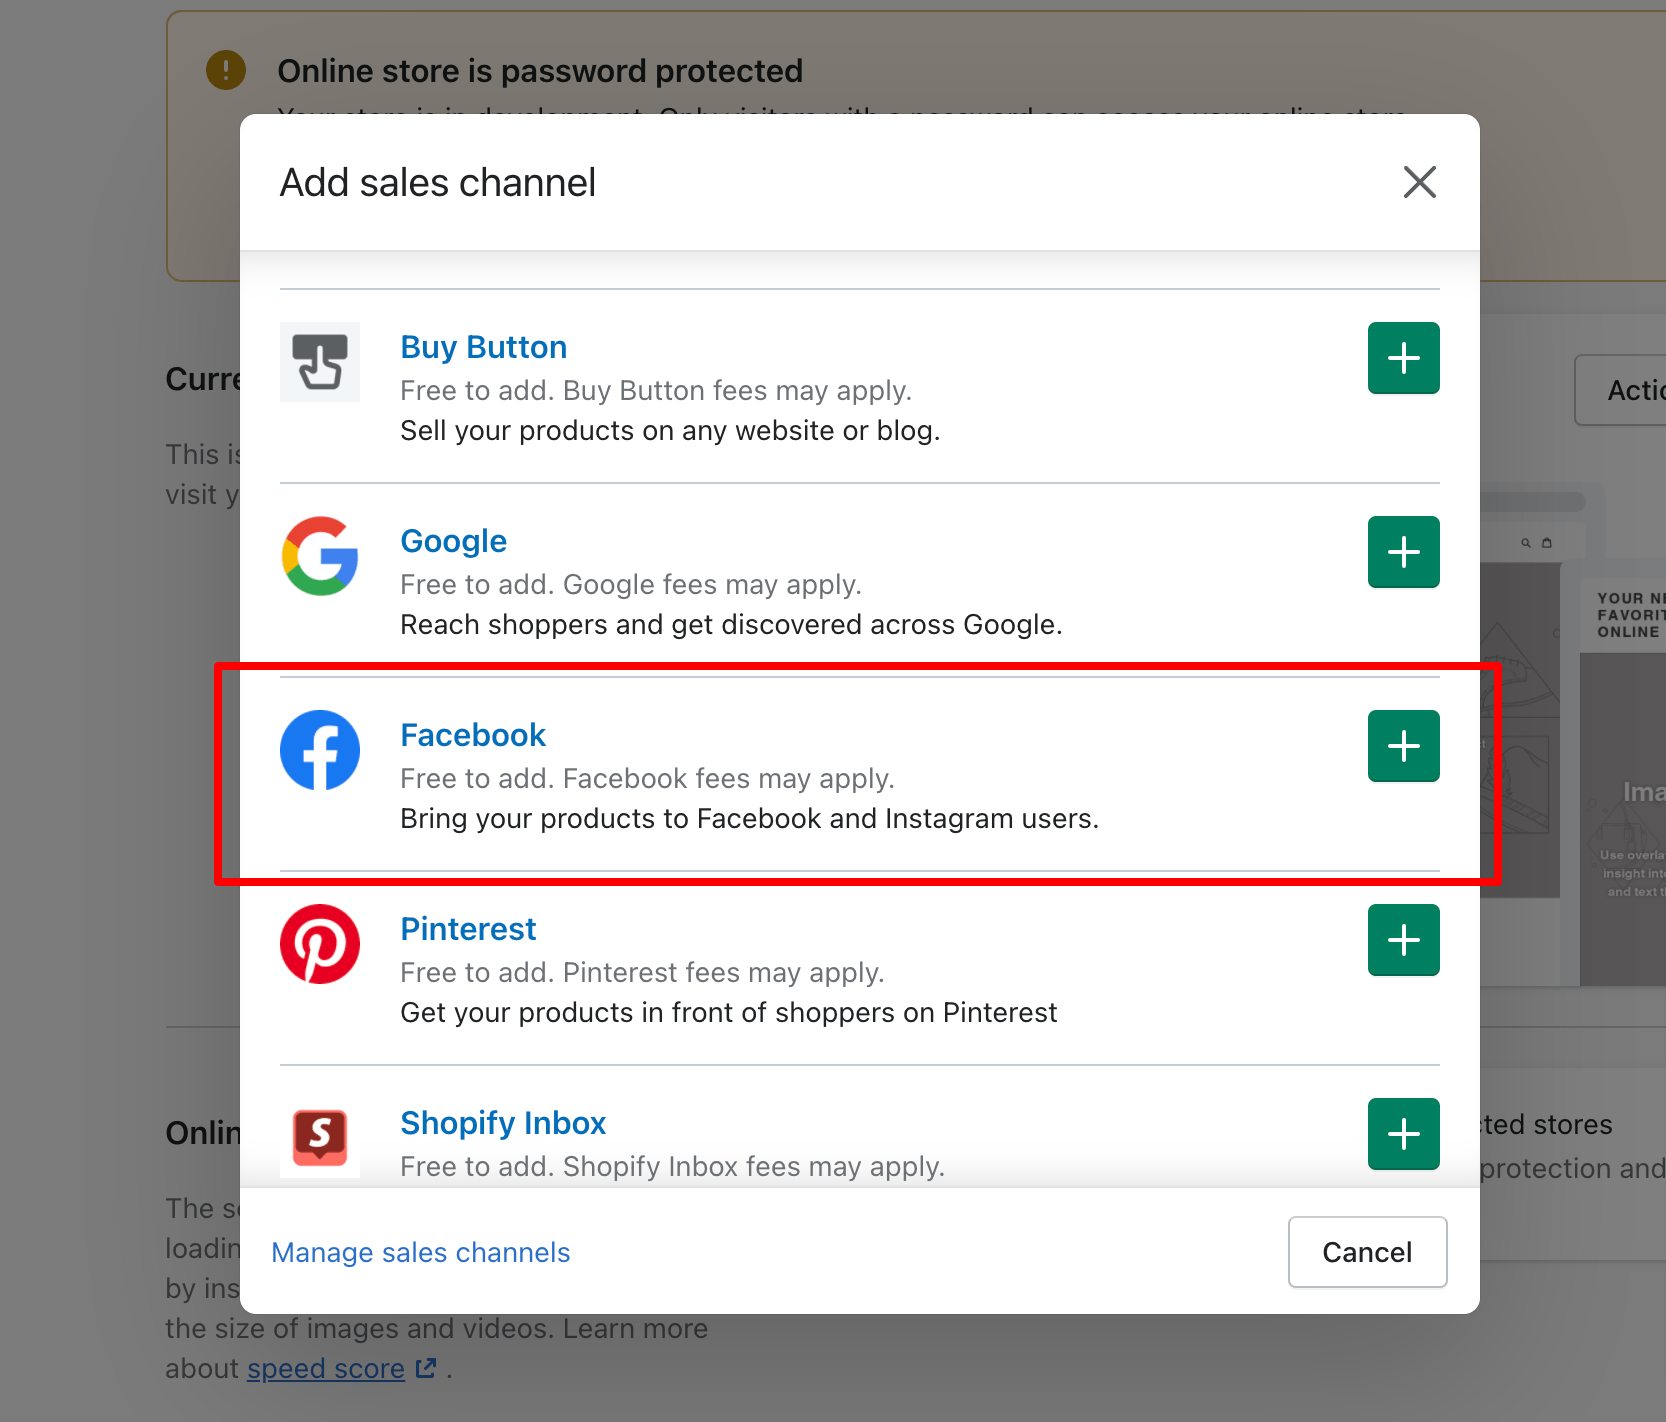
Use the icon next to Facebook, which will get you to the permission screen. Select “Update sales channel,” which will update your Shopify dashboard. You will then be able to see the option of “Sales Channel” in your dashboard.
-
Instagram Shopping Set Up In Sales
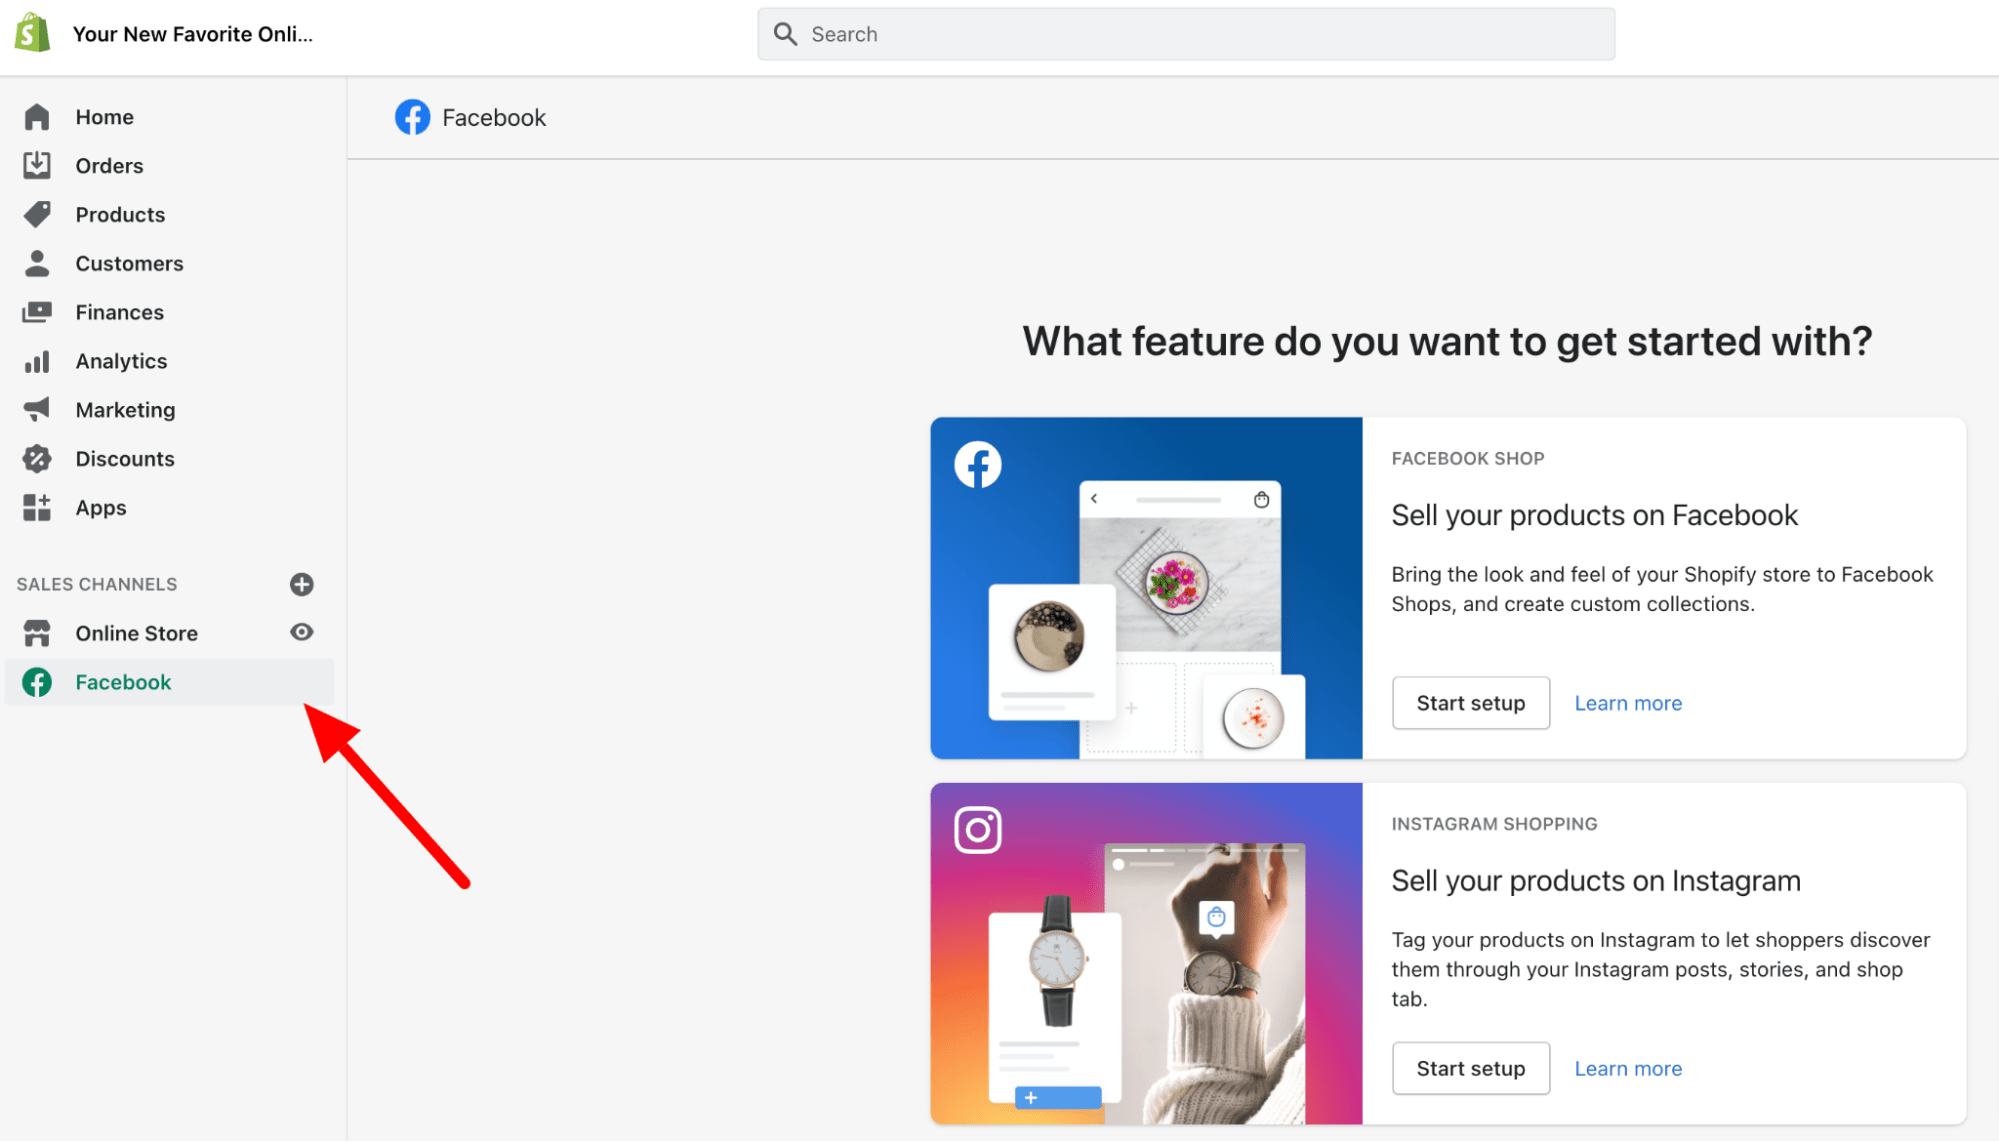
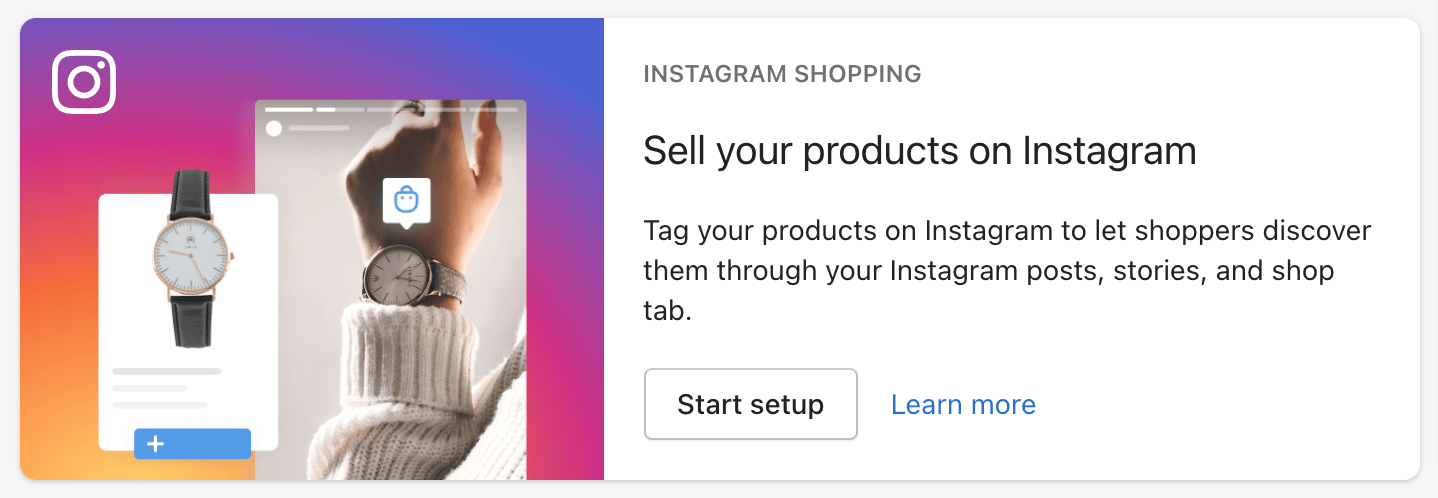
When you go to your FB sales channel, go to the option “Sell your product on Instagram” and click on “Start Setup.”
There will be certain recommendations that will be helpful for a smoother review process. The process usually takes up to 2 days, and they review the products.
-
Add Products To Instagram
After a successful review, you can start adding products to the Instagram storefront. Follow these steps to start the process.
- Go to “Settings” in your Instagram Business Profile.
- Then, select “Business” followed by “Shopping.”
- Now, get your FB account confirmed and choose the catalog to showcase your products.
- Conclude the process by clicking “Done.”
The syncing of products will automatically start taking place from the Shopify store to the Instagram shop. You can then make changes to the product visibility if you do not intend to use the default settings. Go to the settings and select the edit section of the product’s page.

-
Update The Checkout Method
The last and crucial step is to update the method for checkout. You can do so by going to the channel’s commerce settings. You can choose from the two available options, which are:
- Your Shopify Online Store
- Directly On Facebook and Instagram
There are pros and cons of using both options. However, if you are looking for a smooth sales option, Instagram checkout would be a better option for you.
How To Add Instagram Feed To Shopify Pages?
Now, let’s get you through the process of adding Instagram feeds to your Shopify page. Having Instagram feed on your Instagram Shopify will also act as social proof, which will make your brand more credible. It will, in turn, increase conversions for your Shopify store.
Give your Shopify store the edge and let it stand out by following these steps:
Download The Instagram Feed App
There is no direct way to get the feed in your store. That is where you would need help from third-party apps. These apps allow you to use specialized hashtags, which can be used on Instagram. And whenever someone uses that hashtag, the content of that post gets featured on the store’s Instagram feed.
You can find many apps on your device’s app store and use the one that appeals to you the most. Some popular apps that you can use are as follows:
- Instafeed
- Covet
- Shopping feeder
- Instagram feed, story & TikTok
- Instagram shop + feed gallery
- Shop Instagram feed & UGC
Connect Instagram Account
The next thing you have to do after installing the app is to connect your account on the app to the Shopify store. Provide the necessary authorization from your profile and then move on to the next step.
Add Customization To Your Instagram Feed
After connecting your account, you can customize the feed according to your preferences. Make your feed look the way you want it to. The 4 main fields where you can make customization include:
- Feed Title: The field containing the hashtags which will link the customer’s UGC to the store page.
- Post Spacing: You can use this field to change the space that you want between each post in the feed.
- On Post Click: This field is for the customer’s action on the post in your feed. You can change the type to either open the post on Instagram or in a pop-up lightbox on the store.
- Numbers Of Rows & Columns: Lastly, you can determine the number of rows and columns that the UGC posts can have in the feed.
Add The Feed To Your Shopify Page
Go to the editor in Shopify and then move to the menu, which is on the left side of the screen. Now, select the “add a section” part of the menu and then select “Instagram App.” Add the feed to your page and then save & load to load the feed. You can then check for the feed images by clicking on the lightbox.
And this is how you set up the feed on your Shopify pages. Now all you have to do is let your followers use your hashtag, which will be showcased on the feed page.
Useful Tips To Scale Your Business Using Instagram
Now that you are all set to sell on Instagram and scale your profits, it is time to share some useful tips. These tips might come in handy for sellers who are still new to the scene and not much aware of the marketing strategies. Have a look at some of the useful tips that may come in handy.
Be As Original As Possible
While the platform is all about showing off your products in the flashiest possible way, you should stay true to the roots. Straying away from your brand’s original source can provide your followers with the wrong message. This may reduce your brand’s credibility in the long run. That is why you always ensure that your content is unique and relevant to your brand name.
Captivating Product Descriptions
Another thing that can get your message across to your followers is by choosing the right description for your products. Also, ensure that the descriptions are engaging, as that can increase your overall conversions.
Optimize The Time For Posting
Nowadays, Instagram also provides statistics on the peak time of users. You can use that data to post accordingly. Also, you can experiment with the timings and check the time that yields the best result. Both these tactics can help you with optimizing the time for posting.
Leveraging User-Generated Content
You can also use the UGC to add value to your content and become more appealing to your audience. One of the best ways to leverage that is by being active and polite to your audience. Show gratitude wherever it is possible to build a healthy relationship.
Move Or Delete Irrelevant Tags
This tip may not be very useful, but it can certainly make your brand become more focused and professional. You can either move the irrelevant or wrong product tags and post them to the archive or delete them from the profile. Keep only the ones that are relevant to your brand and its value.